Since we are actually living in Paris for a year and not just vacationing, I have been spending most of my time teaching myself a new photographic technique called high dynamic range (HDR) photography, and although I am far from an expert, I am going to write about that and show you some of the images I have created using the technique.
HDR photography might be better called “HDR digital processing” because there is nothing out of the ordinary about the actual photographs you capture with your digital camera, and virtually any digital camera is capable of capturing images that can be used to process HDR photographs.

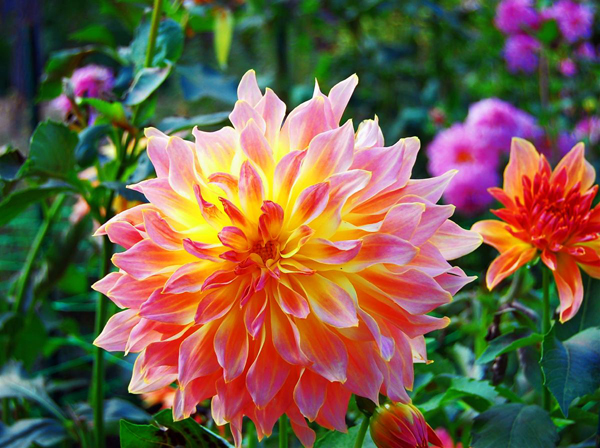
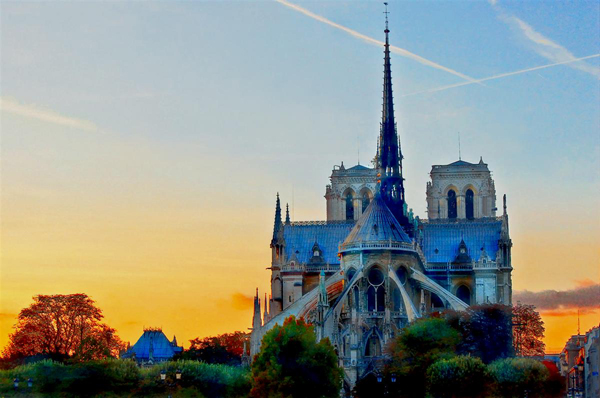
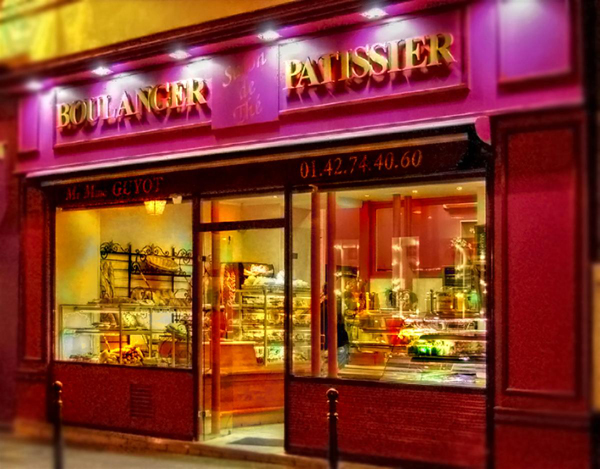
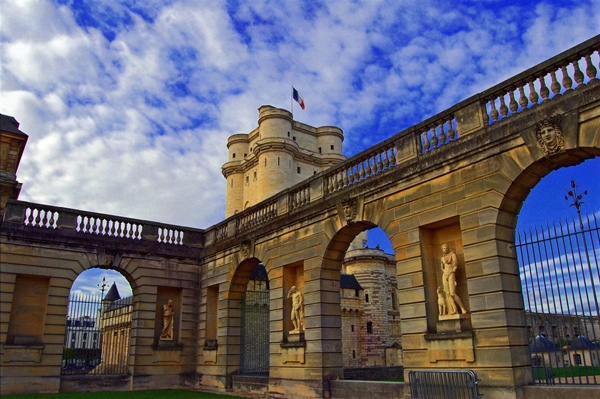
HDR photography is a way of taking several shots of the same subject and merging them into one image that, ideally, will retain the best aspects of each photograph. It thereby greatly increases the range of tones and colors that are visible in the finished HDR. The final result looks like the colorful and vivid post cards you see for sale all over Paris.
The different shots that are used to make HDR images are normally shot at drastically different exposures, a technique that is called “bracketing” in photography jargon. Typically you would work with at least three shots of the same subject. One of the shots would be exposed correctly for the given lighting conditions, one would be significantly overexposed and the other would be significantly underexposed.
In order to successfully align these shots into a single, sharp photograph they have to be shot from exactly the same position with exactly the same zoom setting. The only really reliable way to do this is by using a sturdy tripod, but HDR programs usually come with alignment tools that are able to correct for minor differences in the camera position between the different shots. I have found that, in a pinch, I can capture usable HDR images by bracing my camera against a stationary object like a lamp post or a Velib pay station and very carefully aligning the focal marks in my viewfinder with some feature in the scene I am shooting. This works best with a subject like a building where you can line up with something like the corner of a window frame.
You have to pick your subject carefully when capturing images for an HDR because there is always some time lapse between the different exposures even if you are using a camera with an automatic bracketing feature. Consequently, it is rather difficult to produce HDR images of a subject containing moving objects. HDR photography is notorious for producing vivid and dramatic images of skies, but on a windy day, I have found that the clouds often move too quickly to be correctly aligned when trying to produce an HDR photograph. The slight movement of the clouds between exposures leaves them with rather nervous-looking, multiple edges that do not translate into attractive images.
In addition to a digital camera and a tripod, you will need a computer with an HDR image-making program in order to produce these vivid images. I have used two HDR programs that are available as free downloads. One has the unpronounceable name, Qtpfsgui, and the other one is called FDR Tools Basic. Although the graphic structures of these two programs are quite different, they both have essentially the same features. The steps to creating an HDR image are as follows:
1. Capture multiple images of a single subject.
2. Download images to your HDR program.
3. Align the images.
4. Create the HDR image.
5. Tone map the image. Without getting too technical, I must mention that true HDR images are not viewable on normal computer screens because they contain much more information than can be displayed on a monitor. Consequently, if you wish to view them on your computer, you have to convert them back into low dynamic range images (LDR’s), but even so, a much greater range of visual information will be contained in the final image. The process by which the HDR is converted back into an LDR is called “tone mapping”. Each HDR program offers different tone mapping algorithms that can produce drastically different results.
6. Edit the image. Both programs I have tried contain some basic editing features along with the HDR generating tools, but I normally give my HDR images a final tweaking using Photoshop Elements 7 or some other dedicated photo editing software.
An enormous amount of information about HDR photography is available on some of the many internet sites dedicated to digital photography. Of course, like any technical/artistic field, there are people who are REALLY, DEEPLY INTO THIS STUFF! I have been able to find HDR images on the internet that are so amazing they have caused my brain to leak out my ears! Some of them use as many as sixteen images to produce a single HDR! That being said, I am reasonably satisfied with the results I have been able to obtain thus far with some basic knowledge and adequate equipment, including those images in this blog post.